Bounding Inbound: Building HTTP Triggers for a Webhook

Categories
DevOps & SRE
 Hi! This little guy is Kevin, and he’s going to walk us through building an inbound webhook parser to integrate with Flow Designer, the xMatters visual workflow builder.
That’s right, Travis! And who are you calling little? Getting signals into xMatters is primarily done in three ways:
- Command line
- HTTP Webhook
Email is pretty basic, or more advanced depending on your flavor. Command line works with the older integration agent, but isn’t compatible with Flow Designer yet for easy workflow automation. The most used method by far for getting signals into xMatters is through an HTTP Webhook.
Why is HTTP so popular, Kevin?
HTTP provides many benefits over the others:
- Secure: Data is sent via HTTPS, and various methods for authentication are available
- Machine readable: Unlike email, payloads sent via webhook are ready to be parsed by code without the need for messy regular expression parsing
- Widely used: Most applications have a mechanism for firing webhooks. If they don’t, they should
OK Kevin, let’s dive into how to write your own HTTP trigger so we can get integrating!
Right! The first thing you will need is a sample of the payload sent from your application. This post will focus on a JSON payload. Other common data formats are form-urlencoded and passing data in the query parameters of the URL.
Here is an example payload from Prometheus:
{
 "receiver": "xmatters-alert",
 "status": "firing",
 "alerts": [
    {
    "status": "firing",
    "labels": {
       "alertname": "ProbeSSLCertExpiryCritical",
       "env": "prod-gp2-om",
       "environment": "prometheus-master",
       "instance": "https://api.net/v2/info",
       "service": "probe",
       "severity": "critical"
    },
    "annotations": {
       "description": "The SSL certificate at endpoint `https://api.net/v2/info` will expire in 11d 20h 33m 53s",
       "summary": "Endpoint `https://api.net/v2/info` SSL certificate will expire in 11d 20h 33m 53s"
    },
    "startsAt": "2019-10-23T15:26:06.441177639Z",
    "endsAt": "0001-01-01T00:00:00Z",
    "generatorURL": "https://prometheus.net/graph?g0.expr=avg+by%28instance%2C+env%29+%28probe_ssl_earliest_cert_expiry%29+-+time%28%29+%3C+1.8144e%2B06&g0.tab=1",
    "fingerprint": "a0987df3cf855aef"
    },
    {
    "status": "firing",
    "labels": {
       "alertname": "ProbeSSLCertExpiryCritical",
       "env": "prod-gp2-om",
       "environment": "prometheus-master",
       "instance": "https://login.net/login",
       "service": "probe",
       "severity": "critical"
    },
    "annotations": {
       "description": "The SSL certificate at endpoint `https://login.net/login` will expire in 11d 20h 33m 53s",
       "summary": "Endpoint `https://login.net/login` SSL certificate will expire in 11d 20h 33m 53s"
    },
    "startsAt": "2019-10-23T15:26:06.441177639Z",
    "endsAt": "0001-01-01T00:00:00Z",
    "generatorURL": "https://prometheus.net/graph?g0.expr=avg+by%28instance%2C+env%29+%28probe_ssl_earliest_cert_expiry%29+-+time%28%29+%3C+1.8144e%2B06&g0.tab=1",
    "fingerprint": "a3a12fa78143ad60"
    }
 ],
 "groupLabels": {
    "alertname": "ProbeSSLCertExpiryCritical"
 },
 "commonLabels": {
    "alertname": "ProbeSSLCertExpiryCritical",
    "env": "prod-us",
    "environment": "prometheus-master",
    "service": "probe",
    "severity": "critical"
 },
 "commonAnnotations": {},
 "externalURL": "https://alertmanager.net",
 "version": "4",
 "groupKey": "{}/{severity=\"critical\"}:{alertname=\"ProbeSSLCertExpiryCritical\"}"
}
There’s a lot here, and I chose a complex example so we can look at a real life scenario rather than some lab grown simplicity. At this point, we need to think about what are the important pieces of information we want to pull out. I’ve summarized my thoughts in the table below. I don’t work with Prometheus day in and day out, so someone more well versed can (and hopefully will!) chime in with any clarifications or additions.
| subject | A quick one liner for the email and mobile |
| short_description | Slightly longer description. Will be comprised of several properties |
| commonAnnotations_markup | HTML string composed of the alert descriptions and summaries |
| commonLabels_markup | HTML string of the common labels passed in |
| alertmanager_link | Link to alert manager |
| source_link | Link to the first alert |
| receiver | Passthrough of the receiver value. Can be used as the recipient |
| priority | Mapped from the alert priority |
| recipient | Set based on the value of receiver |
Now that we know our inputs and outputs, break open Flow Designer. Click the Create HTTP Trigger button to bring up the new trigger dialog:
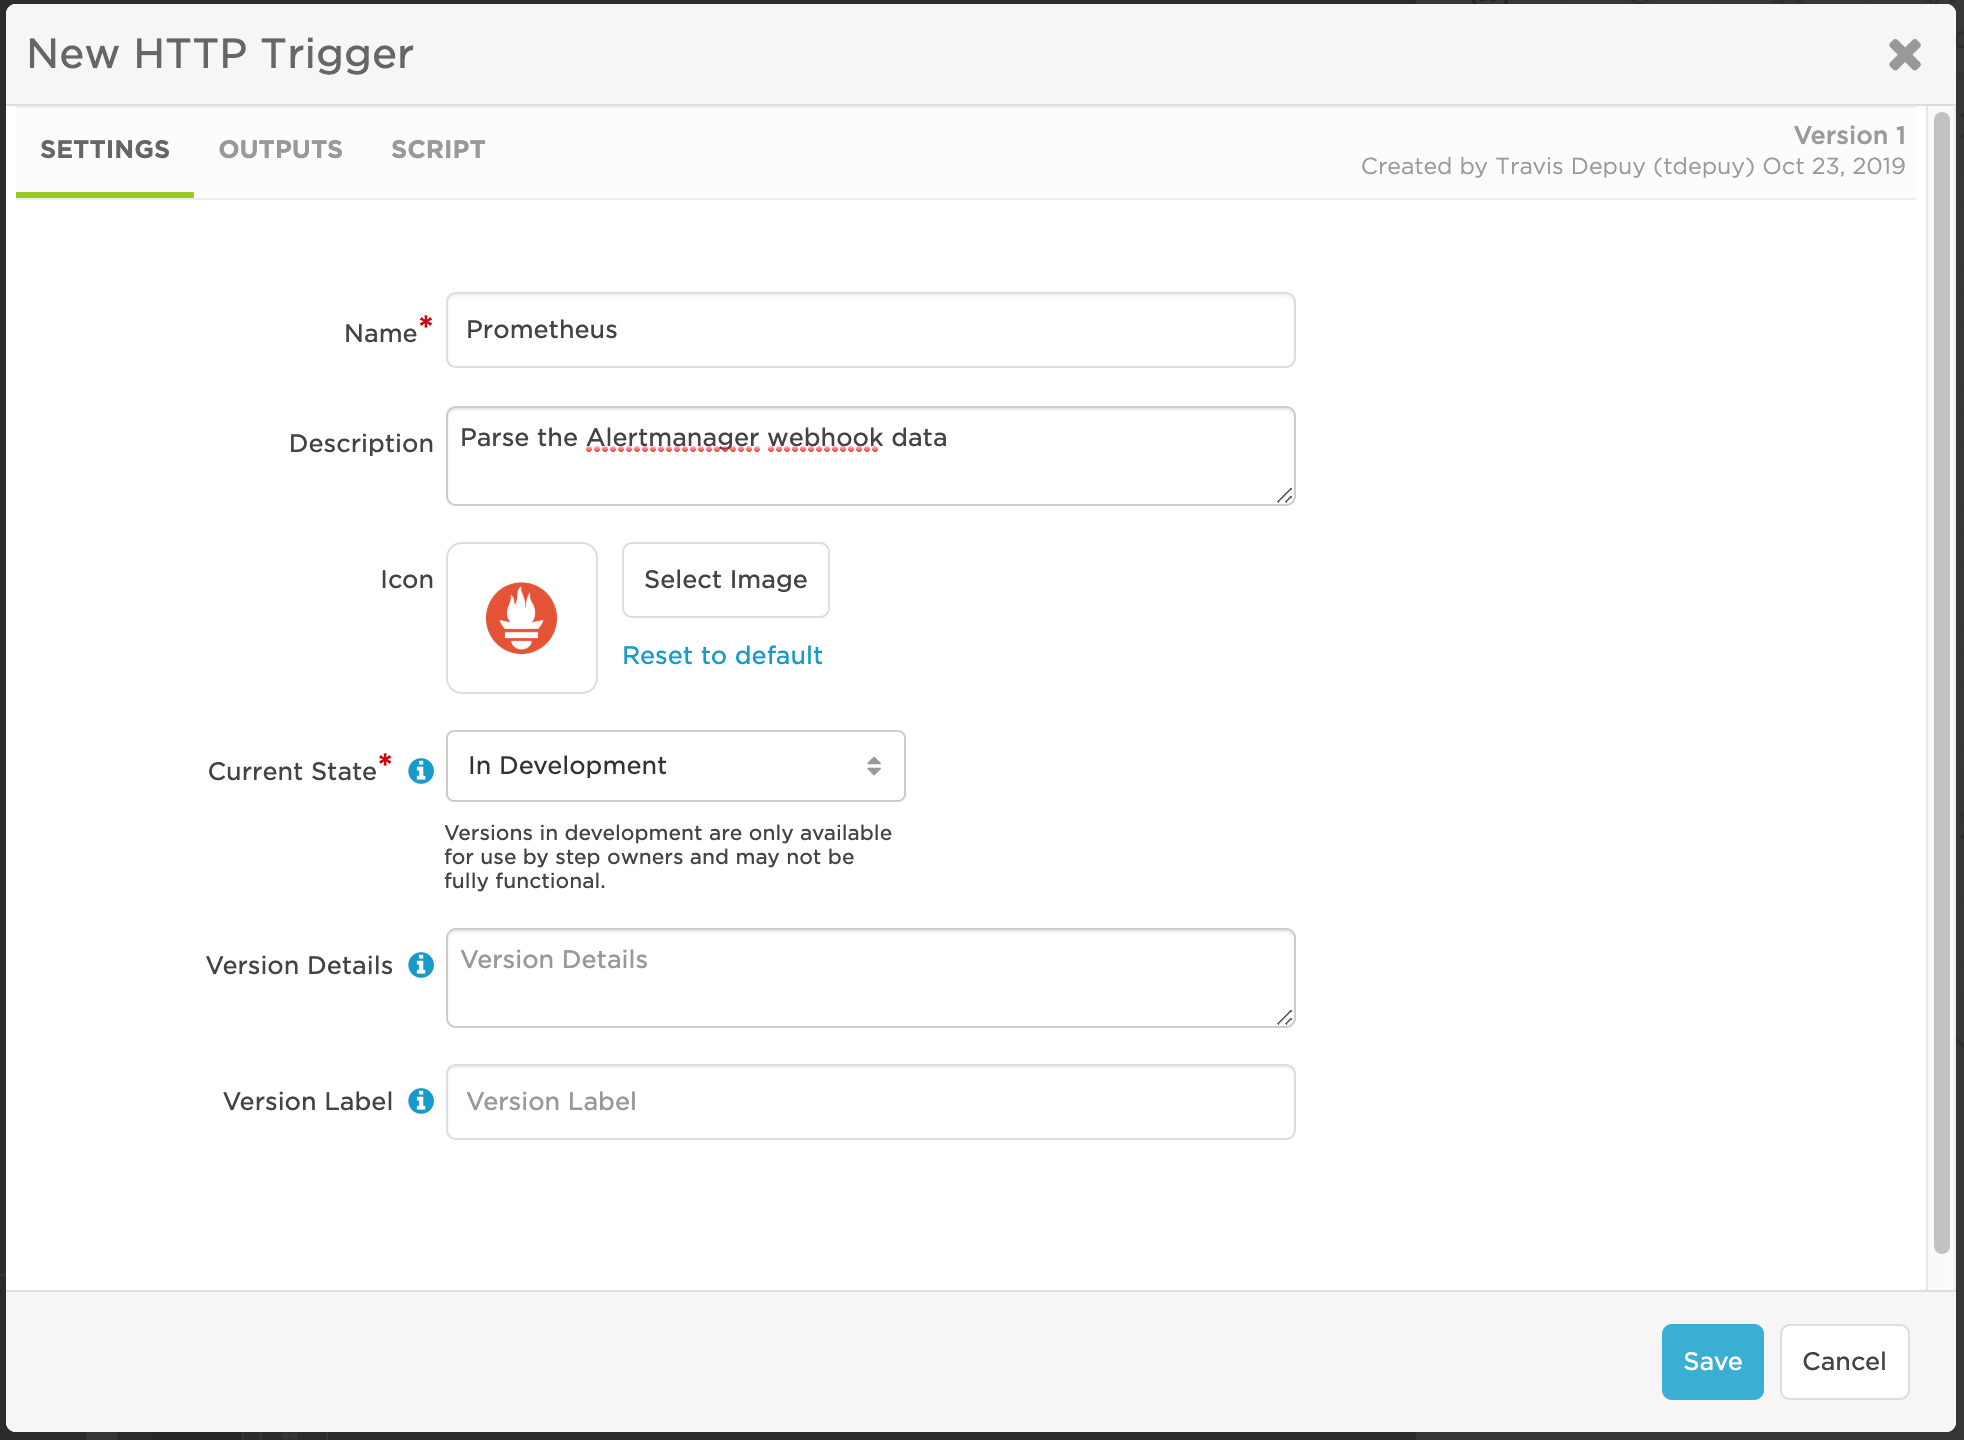
Here’s how I click the Create HTTP Trigger button to bring up the new trigger dialog.
Right, Travis. I’ll give it a good name and helpful description and an Icon. We might go through a few iterations right now, so I’ll leave it in a development state.
 I highly recommend giving these triggers a helpful description as this is the text that shows up when users click the little (i) icon in the pallet:

Inbound from Prometheus
Using the product icon can also really help visually indicate what application the step is related to. Googling for “{ProductName} logo” can usually turn up something usable.
Good tips, Kevin. Since we’ve identified our outputs, let’s throw those in the next tab:
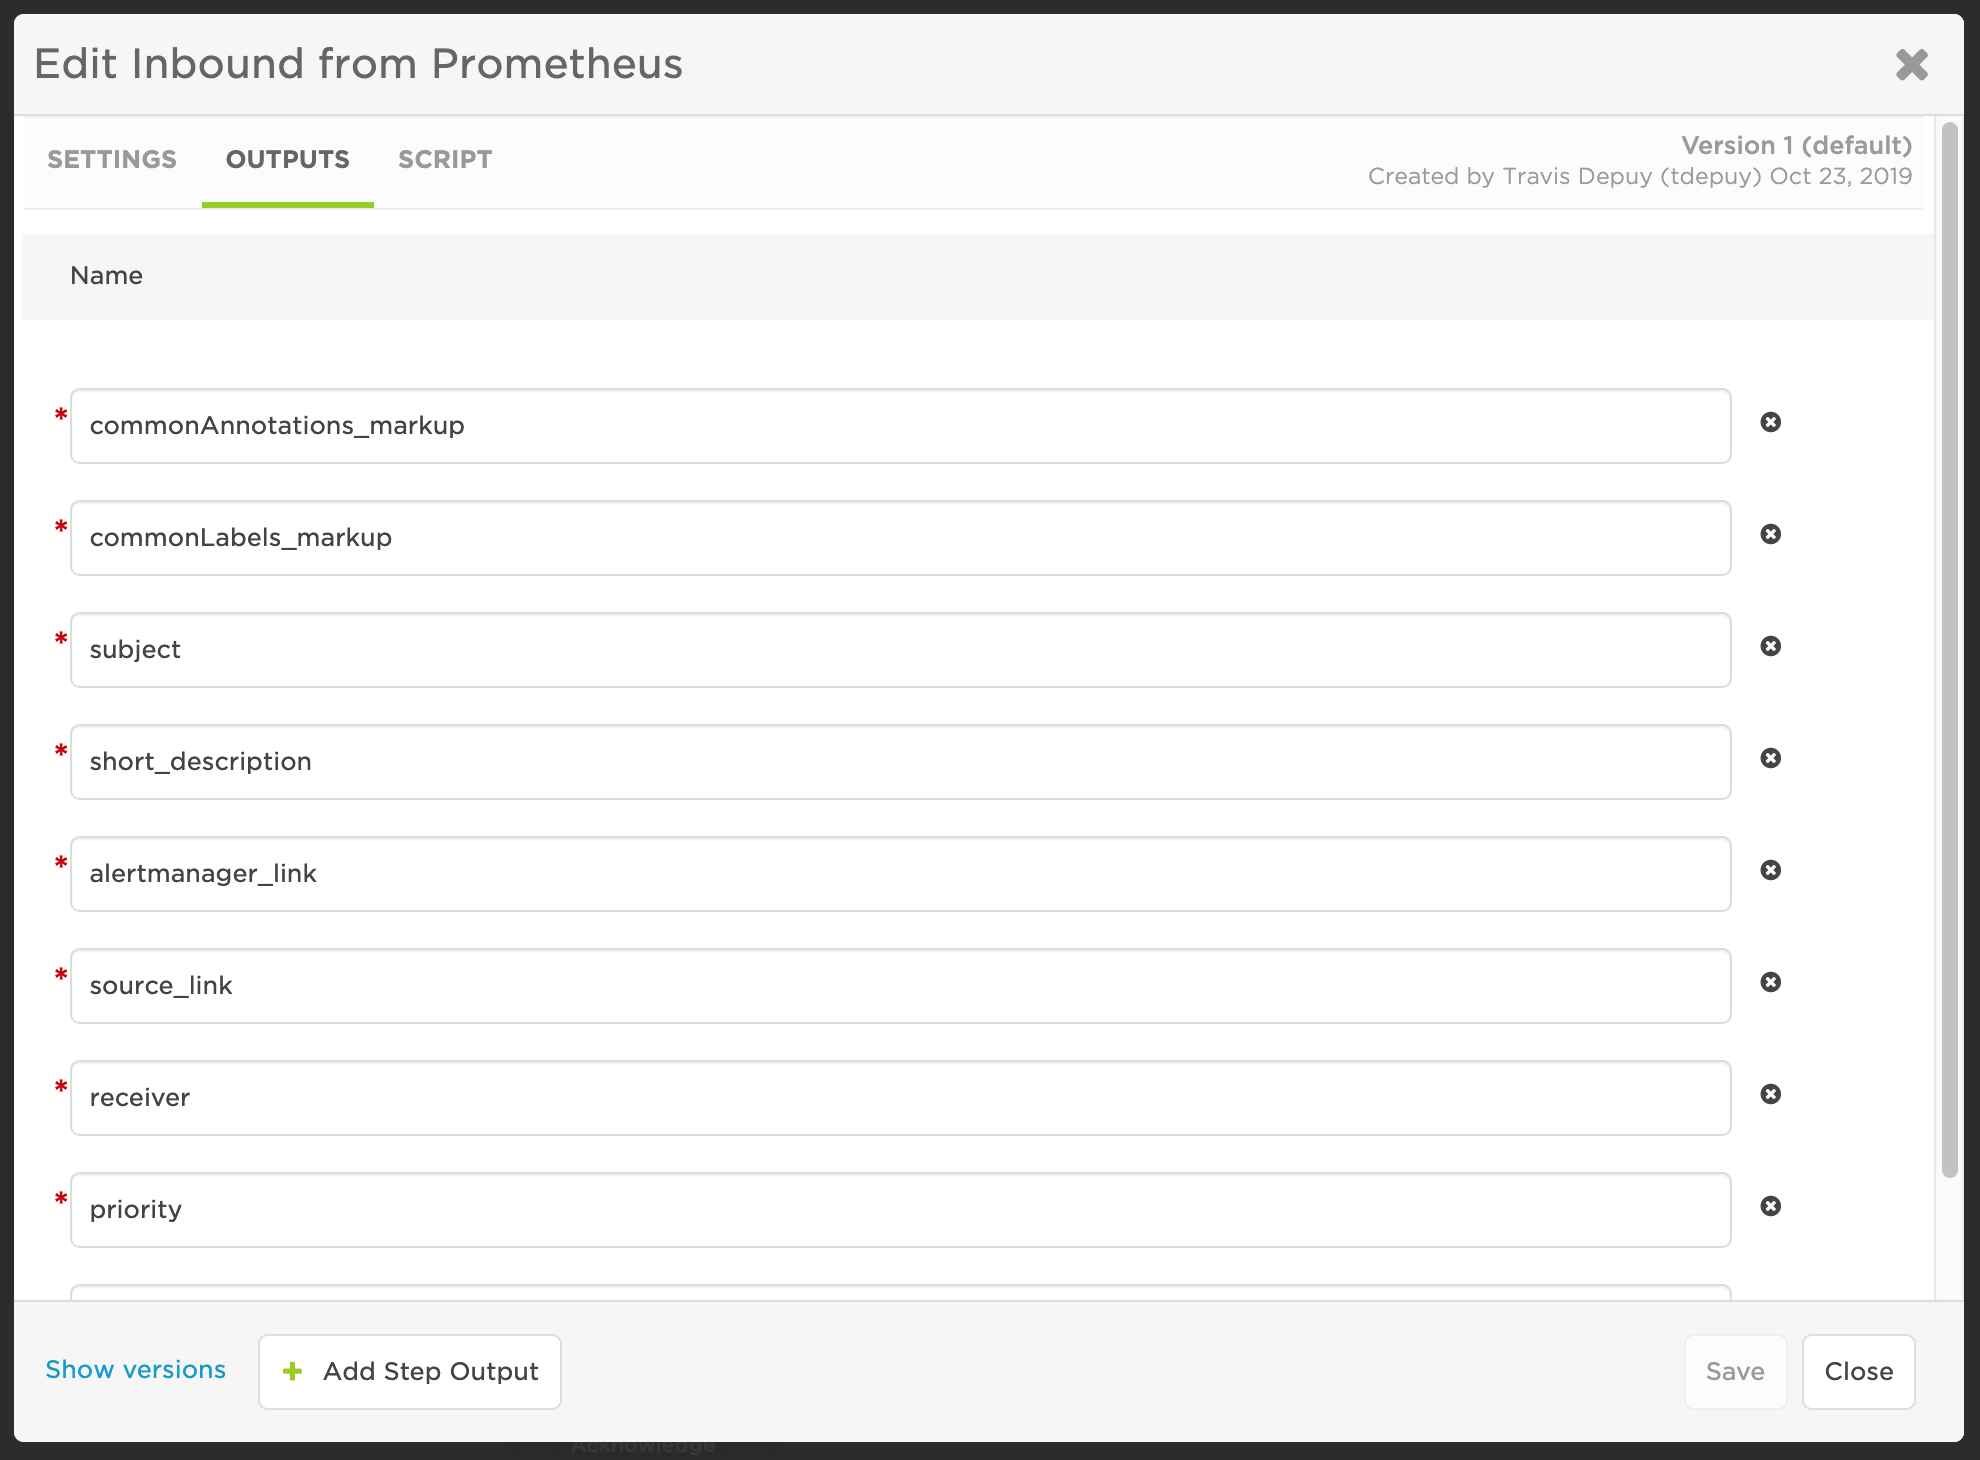
Edit Inbound from Prometheus.
The last part is the script. I chose this payload because it has this “alerts” array that has items within it. Since it’s an array, we can’t just throw it into a string in HTML and hope it renders properly. Well, it will render “properly,” it probably just won’t be readable to our end users. Which sort of defeats the purpose.
 Instead, we need to loop through each one and determine how to present that information. I’ve made use of the JavaScript array map function, which handles iterating over an array and massaging the values returned.
var data = JSON.parse( request.body );

annotations = data.alerts.map( (alert) => { return alert.annotations } );

desc = annotations.map( (item) => { return item.description } );
summ = annotations.map( (item) => { return item.summary } );

output['commonAnnotations_markup'] = 'Description:<br>' + desc.join( '<br>' ) + '<br>Summary:<br>' + summ.join( '<br>' );
output['commonLabels_markup'] = buildMarkupFromJSON( data.commonLabels, true );


output['subject'] = '[' + data.status.toUpperCase() + ':' + data.alerts.length + '] ' +
 data.alerts[0].labels.alertname + ' ' + data.alerts[0].labels.service +
 '(' + buildMarkupFromJSON( data.alerts[0].labels, false ) + ')';
output['short_description'] = data.alerts.length + ' firing for ' + buildMarkupFromJSON( data.groupLabels, false );

output['alertmanager_link'] = data.externalURL + '/#alerts?receiver=' + data.receiver;
output['source_link'] = data.alerts[0].generatorURL;
output['receiver'] = data.receiver;

output['recipient'] = data.receiver;

if( data.priority )
  output['priority'] = data.priority;
else if( data.commonAnnotations.priority )
  output['priority'] = data.commonAnnotations.priority;


function buildMarkupFromJSON( obj, needsHTML ) {

   var html = '';
   for( var item in obj ) {
      // Build the item/value string, and if it should be html, then add a line
      html += item + ' = ' + obj[item] + (needsHTML ? '<br/>' : ' ' );
   }
   return html;
}
I know this is a bit of Draw the rest of the owl, but each script will be different based on the payload.
Can we not talk about owls please? Now, drop your new trigger onto the canvas and give it some friends and you can have your very own enrichment flow!

Drop your new trigger onto the Flow Designer canvas.
 Some pointers:
- Focus on your outputs. Don’t go parsing and touching every last value of the payload, especially if you don’t need them all.
- Is this value for humans or machines? If the value is for human consumption, then you can build some nice HTML to aggregate arrays into readable text. We saw this with the “alerts” complex array above. It also helps reduce the number of values. But this won’t work if you need to execute logic or branching on the value. For example if there was a “state” that went from “Alarm” to “OK,” we could send that out from the trigger, then branch using a switch step to then terminate any existing events or send out new events or messages.
- Links back to the source are helpful. Having a link to the alert or the originating application can mean the difference of digging out a url from someone’s bookmarks to just clicking the link in the email or push notification.
Thanks, Kevin. Say, if you want to play with webhooks and Flow Designer yourself to create some workflow automation, try xMatters free for as long as you want.