So You Want to Build a Systems Integration?

Categories
Infrastructure & Operations
xMatters is most useful when it connects other tools so you can do work more efficiently. To do that, xMatters needs an integration with each of the tools you use. So how do you build a new systems integration? In this article, xMatters Product Evangelist Travis DePuy shows how it’s done.
xMatters engineers in the Great White North are always hard at work building integrations and workflow automation, but they only have so much time and there are new monitoring tools popping up rather often. Which means there might not be a pre-built integration for a particular tool such as Thumper Monitoring, used by Jeff the Aardvark.
With Kevin the Squirrel’s shortcut, this article details the steps and best practices for building your own integration from scratch. And if you think it’s useful enough for others to use, post it up on Github and add an issue to the xMatters Labs repo here.
Let’s get started.
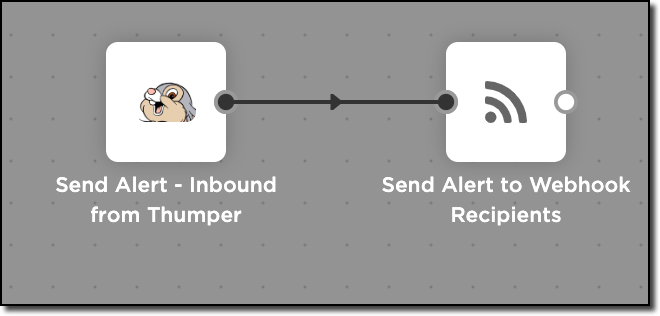
Log into xMatters and navigate to the Workflows tab. In the navigation on the left, click Workflow Templates and type “Send Alert” in the search box. Click on Send Alert Workflow.

Send Alert Workflow
In the popup, click Get Package.
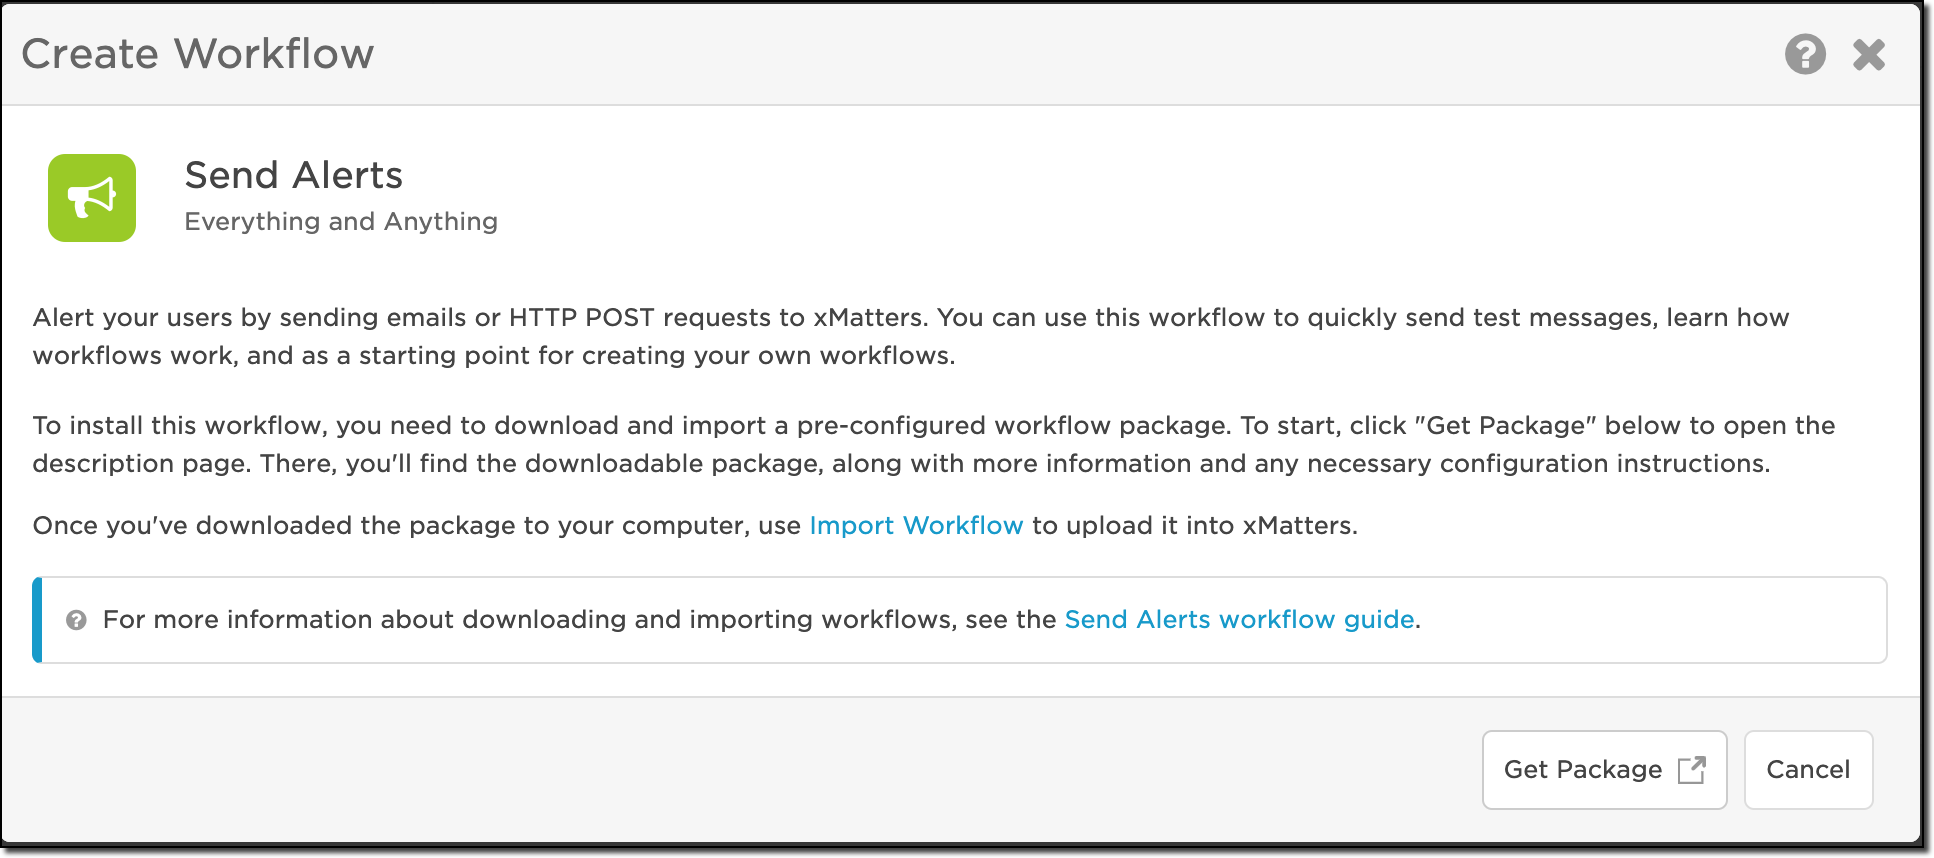
Click Get Package
Once on the help page, download the workflow zip file and import it.
Let’s just review the workflow. It has one form called Send Alert. Investigating the layout of the form, we see just two, Summary and Message. Properties are place holders for the values we want the event to hold. Jeff’s Thumper Monitoring will need a couple more, but let’s deal with that in a minute, after we check out the flow canvas.
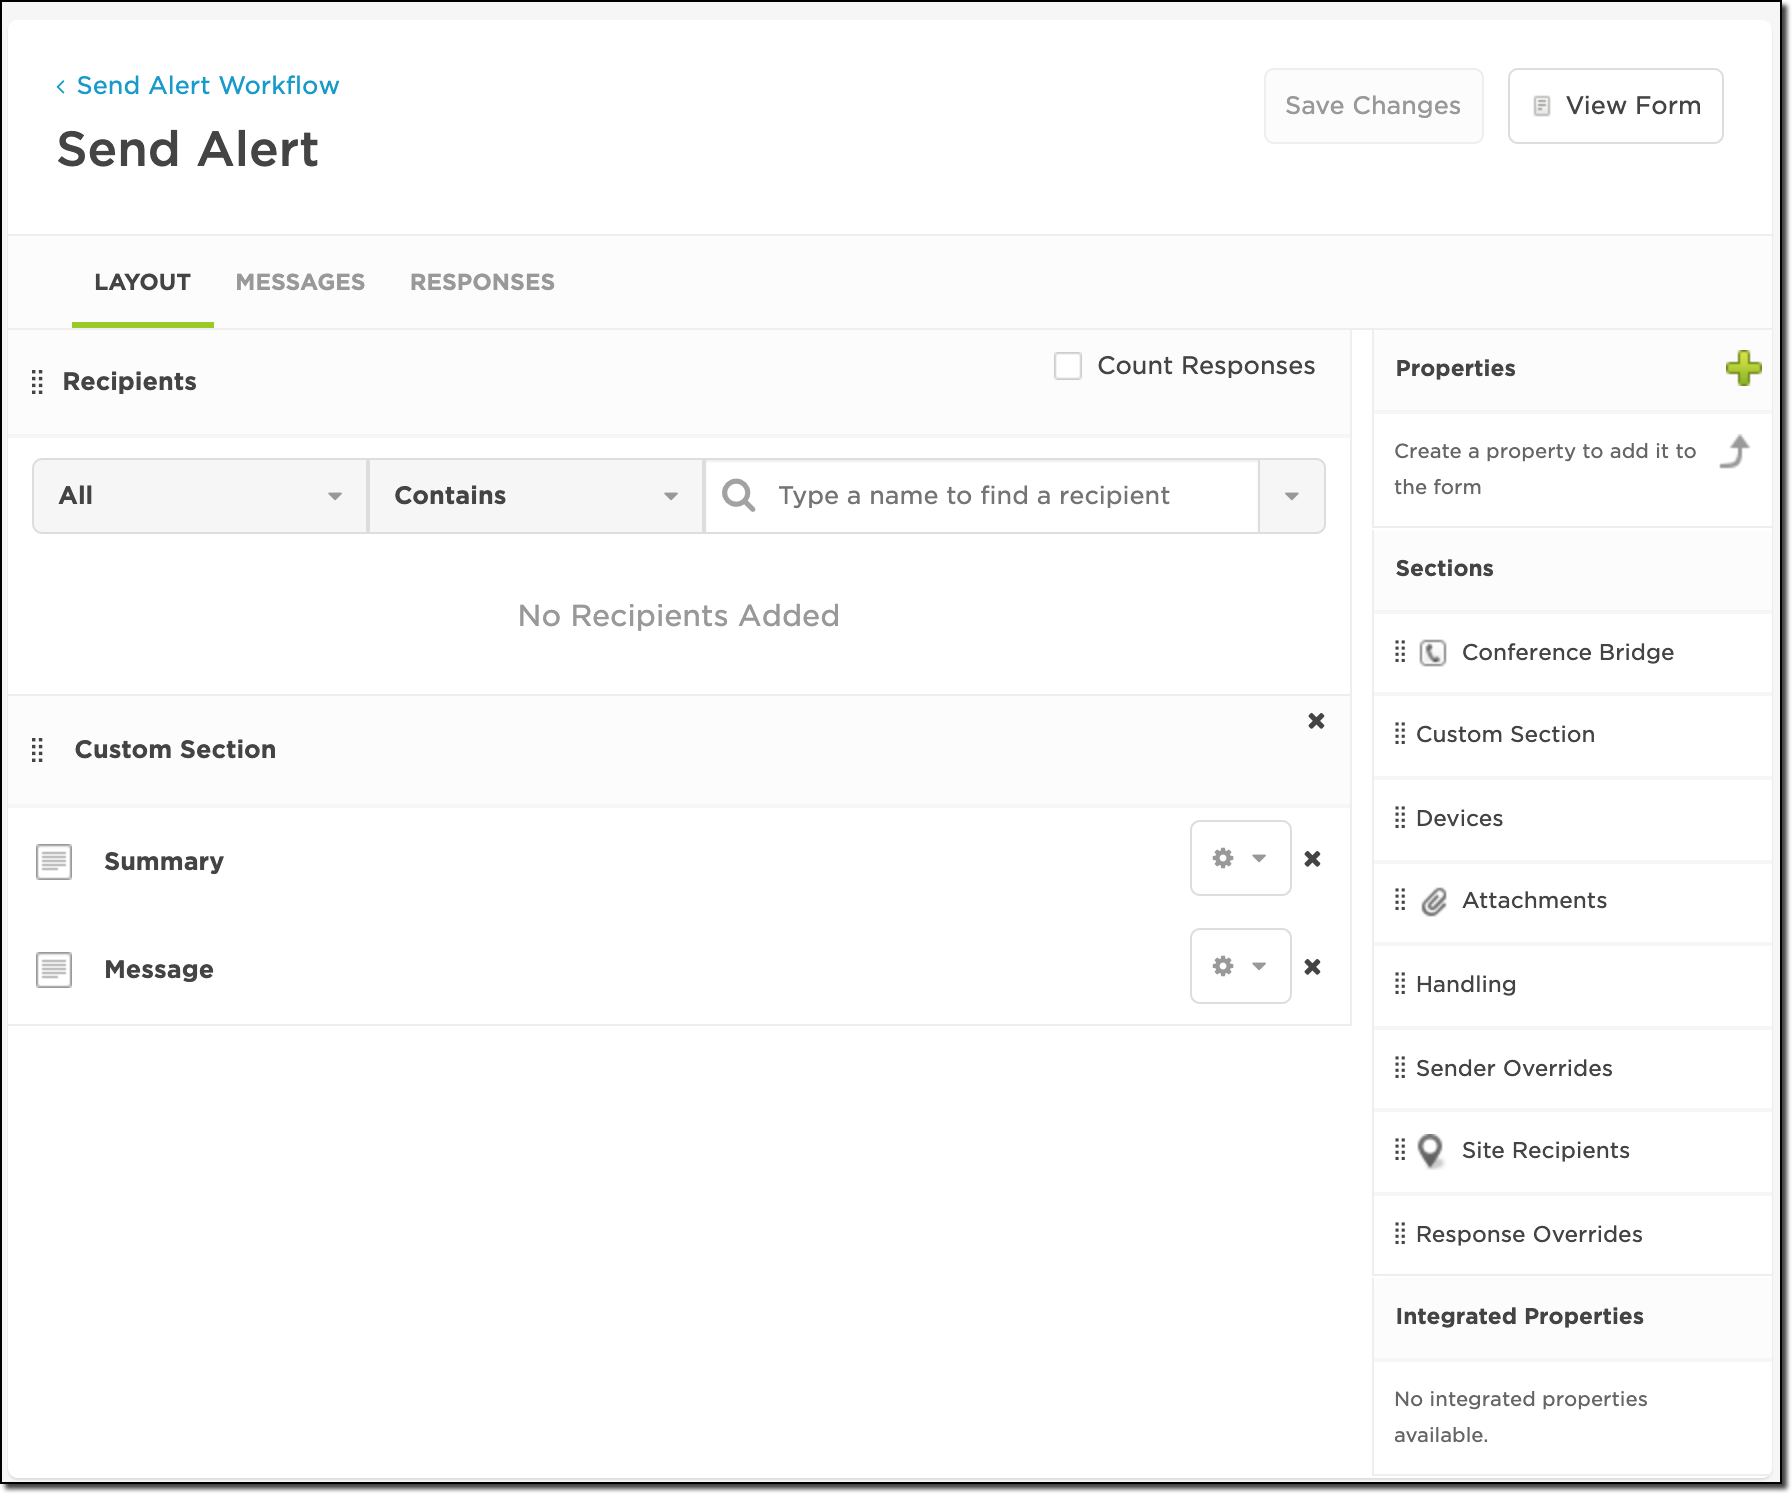
Reviewing workflows
The canvas has been set up to allow several different ways of kicking off the event. Here we see the Initiate by Email trigger that will accept an email and split it into different properties such as subject and email body. It’s hooked up to the Create Event step, making it super easy to trigger via email. This does have limitations though, the biggest being the body gets dumped into one big blob. Check out my other post on Advanced Email Parsing to dive into more details on parsing email.

Flow Designer canvas
Fortunately, Thumper can fire a webhook when it needs to track down a person, so we’ll just remove the email trigger and the attached Create Event step, leaving just the HTTP trigger and create event step. The Thumper docs aren’t really clear on exactly what the payload is, but that’s ok because we can use the advanced logging capabilities in the Activity Panel to inspect the payload and write our script based on that.
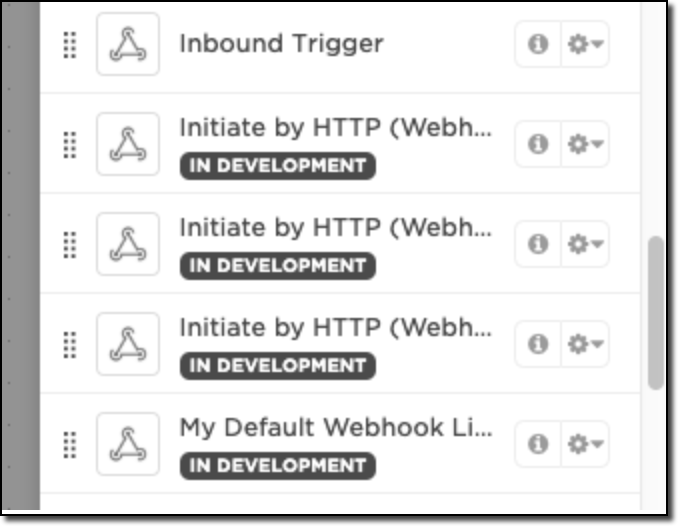
Every time you create a new workflow using this template, it adds a new HTTP trigger… and they will all have the same name. So much fun to try tweaking some code. For this reason, I strongly suggest renaming the HTTP Trigger. Trust me, you’ll thank me later. In the palette, on the Triggers tab, scroll down until you find Initiate by HTTP. Here we see that Adam, one of the other xMatters developers, has been playing with this workflow as well! But he hasn’t renamed his triggers. Don’t be like Adam:
Inbound trigger
In the mildly unfortunate case you have an Adam, don’t worry, it’s easy to see which one needs changes. Click the the edit button and click on the Usage tab. Since we renamed our workflow, we can easily see the workflow name the trigger is used on.

Initiate by HTTP
This is our guy. So let’s update the name on the Settings tab so we aren’t like Adam. I like to name these as “Inbound from XYZ” where XYZ is the name of the source application. While we’re at it, let’s upload a nice icon for the extra visual distinction.
Voila! We have our very own branded HTTP Trigger!
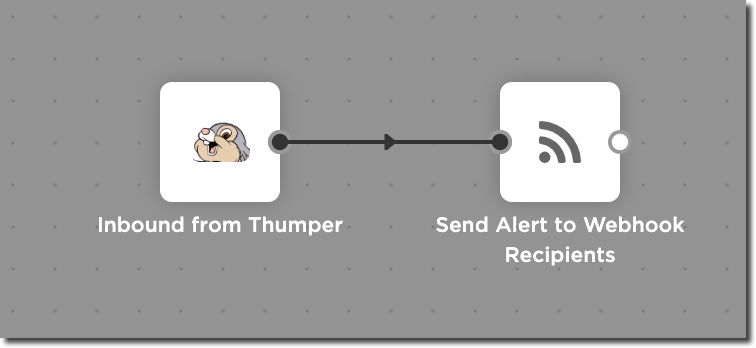
Inbound from Thumper
Double-clicking (or clicking on the pencil hover icon) will display the trigger settings dialog where we’ll find the URL for triggering the, um, trigger.

Our very own HTTP trigger
I can select the Authentication Method to conform with what the source system can send while still balancing the security requirements from my security team. I can also change the authenticating user to someone I supervise and has the REST Web Services role if needed. This is great if we want to set up a dedicated integration user. Finally, we copy the URL and give that to Jeff so he can put it in Thumper and we can start flowing!
Jeff added the webhook url and he was able to fire a test alert from Thumper. Let’s head over to that activity stream and see what we caught.

Webhook failed, but it’s OK
Woo! She’s a beaut. It failed, but, like any good engineer, we know that we can learn a lot from failures. It failed because the parsing logic in the HTTP trigger is set up to look for a Subject and a Message, but our payload is different. Let’s go see what Thumper sent us. Heading over to the Body tab, I can see the payload received by the trigger. I’ve copied it out and pasted below so we can see it better.
{
 "AccountId": "388500089603",
 "AlarmDescription": "Alert the alert alertees of the alert that is alerting.",
 "AlarmName": "Errors in the Web UI",
 "NewStateReason": "It broke",
 "NewStateValue": "ALARM",
 "OldStateValue": "OK",
 "Region": "US East (N. Virginia)",
 "StateChangeTime": "2019-12-25T00:25:32.079+0000",
 "Trigger": {
   "ComparisonOperator": "GreaterThanOrEqualToThreshold",
   "EvaluationPeriods": 1,
   "MetricName": "Invocations",
   "Namespace": "Lambda",
   "Period": 300,
   "Statistic": "AVERAGE",
   "StatisticType": "Statistic",
   "Threshold": 1
 }
}
I won’t go into too much detail here on how to write the parsing script, but check out my post here for a nice walk through of how to write such a parsing script.
After reviewing the requirements, we determined that the following fields were needed in the notification and/or might be useful in defining logic for the flows:
- AccountId
- AlarmDescription
- AlarmName
- NewStateReason
- NewStateValue
- OldStateValue
- Region
- StateChangeTime
- Trigger.ComparisonOperator
- Trigger.EvaluationPeriods
- Trigger.MetricName
- Trigger.Namespace
- Trigger.Period
- Trigger.Statistic
- Trigger.StatisticType
- Trigger.Threshold
In order to remove some of the unused outputs we need to remove the trigger from the form. So I removed it from the form, updated the script and removed and added the new outputs. Unfortunately, this will generate a new URL so we’ll have to break the news to Jeff when we’re through with all this. Anyway, here is our new output list:

A test alert from Thumper
Sweet. Now, let’s get to work on the form and add the properties so the event can hold them. Head over to the form layout.
 You can create properties directly from the Layout page! Super nice for adding a bunch of properties especially if you get distracted easily. Squirrel!

Our new output list
As long as we’re here, let’s add them to the message template so they like, you know, actually get delivered to the end users.

Thumper Watch
The last piece we need to do is add the new fields to the flow on the canvas. If you haven’t added the updated HTTP trigger, now is a good time to do that and hook it up to our Create Event step:
Adding properties to the message template
Then double-click on the Create Event step so we can map all the new properties. Just drag them over from the properties palette:
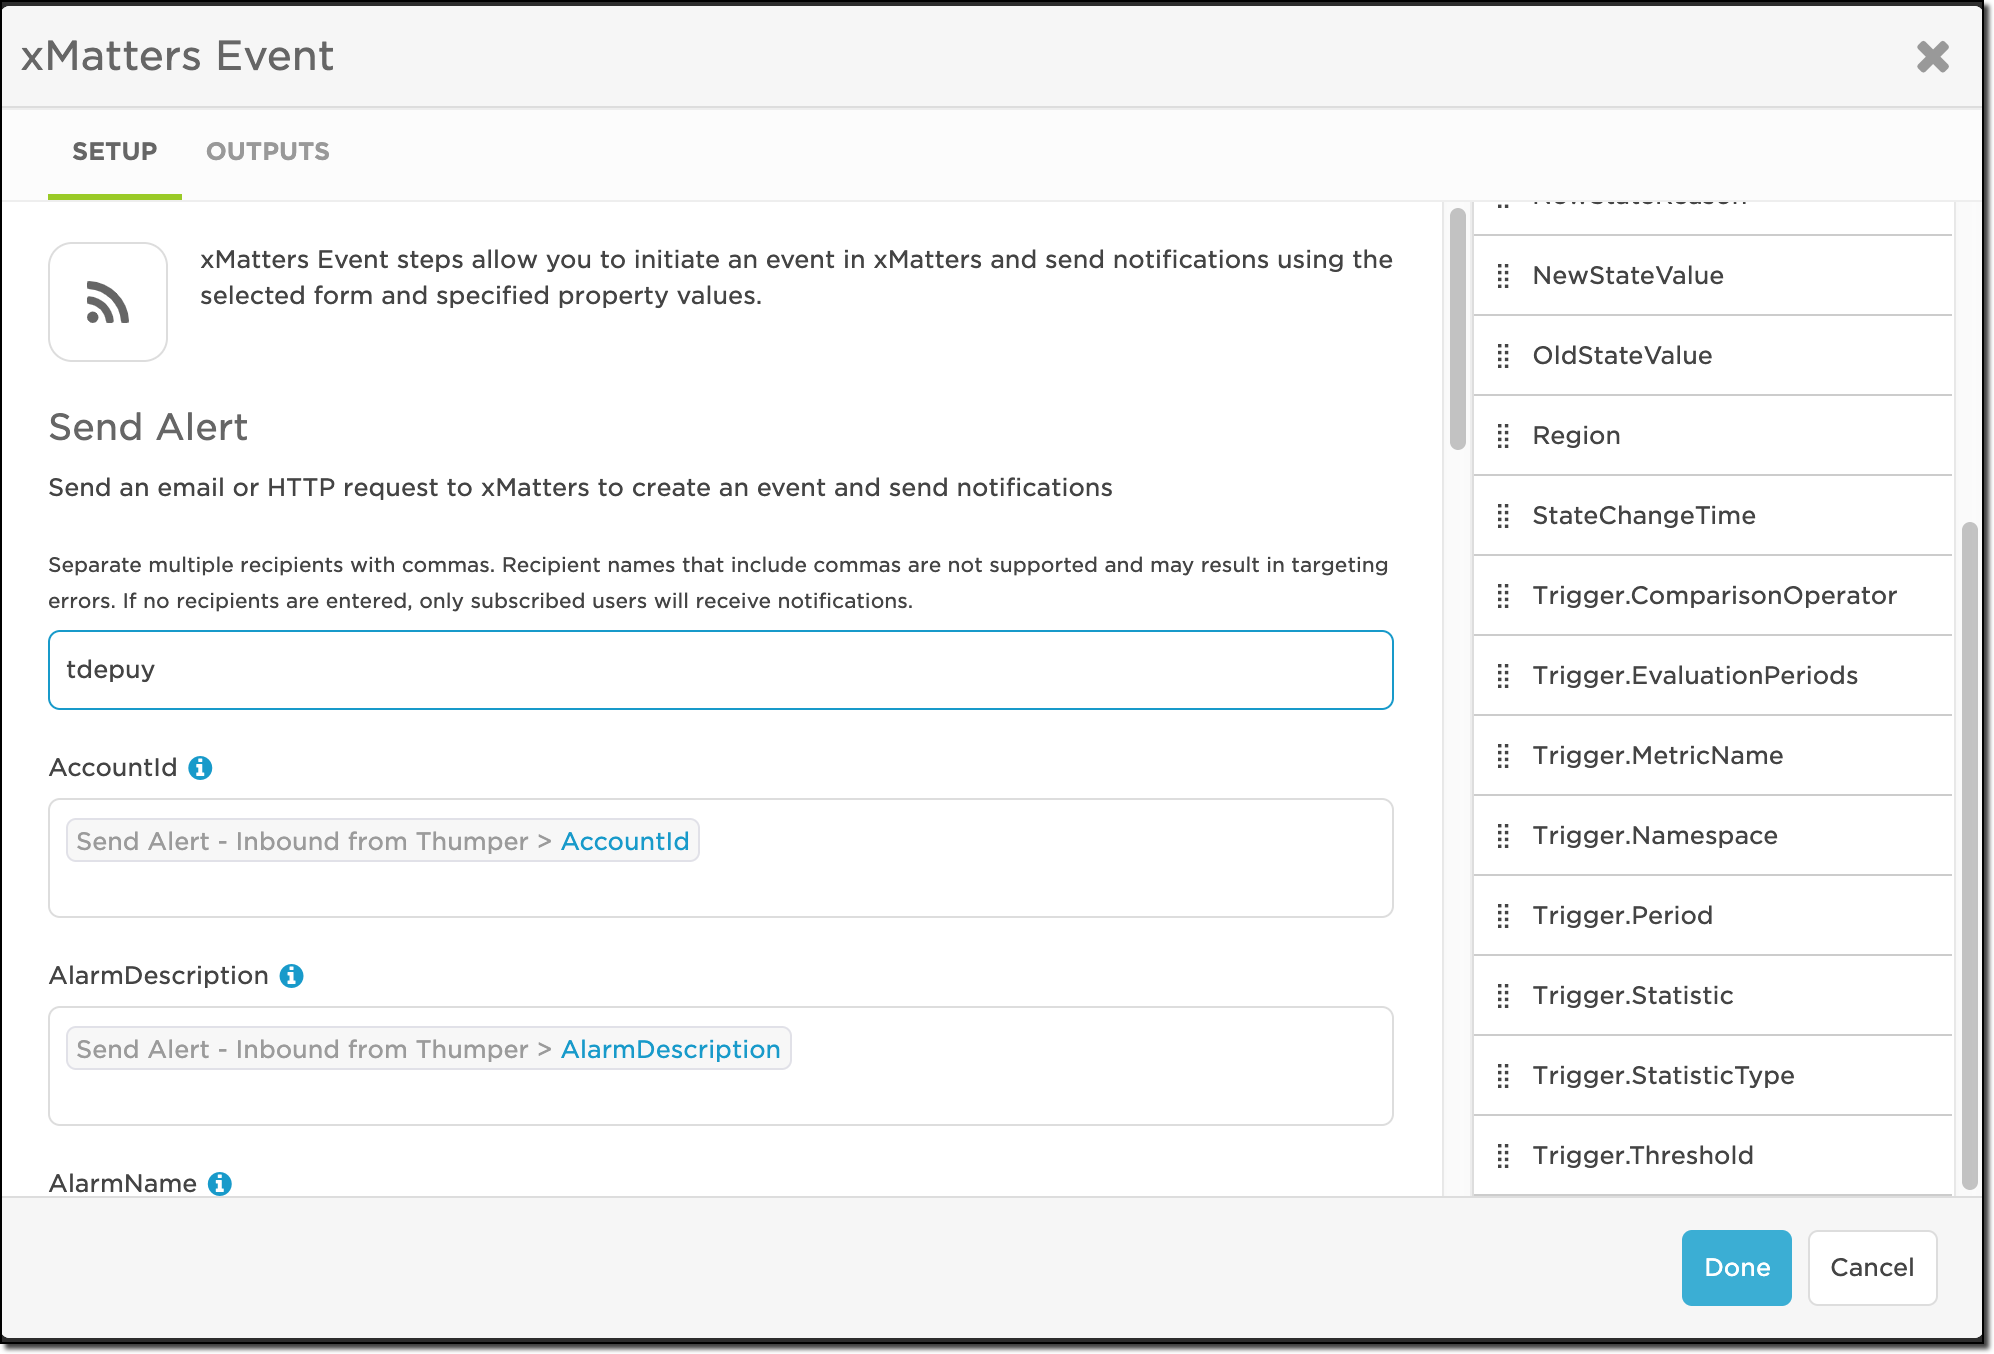
Map new properties
I’ve hard coded the recipient here, but we could leave it blank and use subscriptions, or parse it out in the HTTP Trigger script. It really just depends on your requirements.
Finally, we give Jeff the updated url and let him fire away!
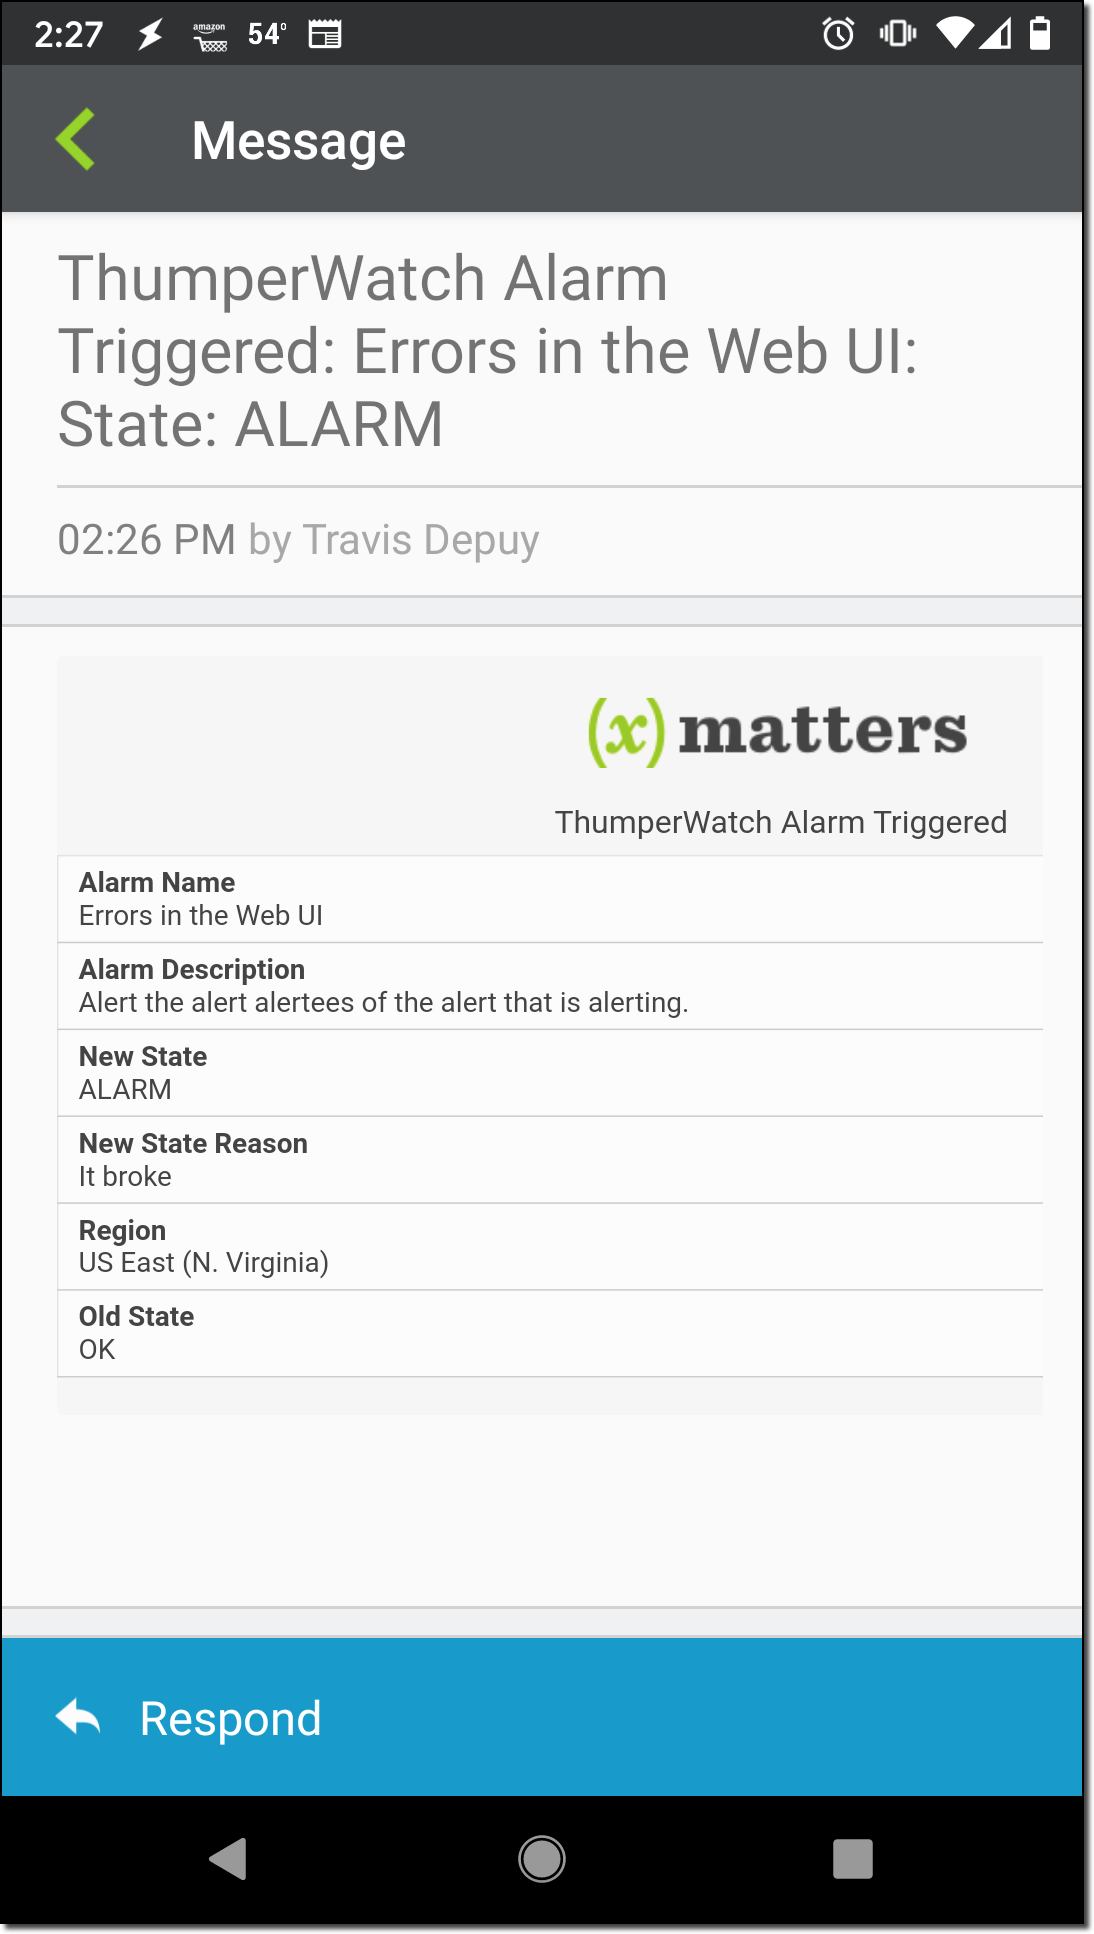
Thumper is ready for action
Looking to leverage integrated tools to drive software development security?